I use different media, when I create my art. I would like to take you behind the scenes today to show you step by step the process of how I created my Zodiac cards, which is part of my Soul Wisdom Healing Art range. I chose Aquarius to take you through the 10 steps of creating my Horoscope signs.
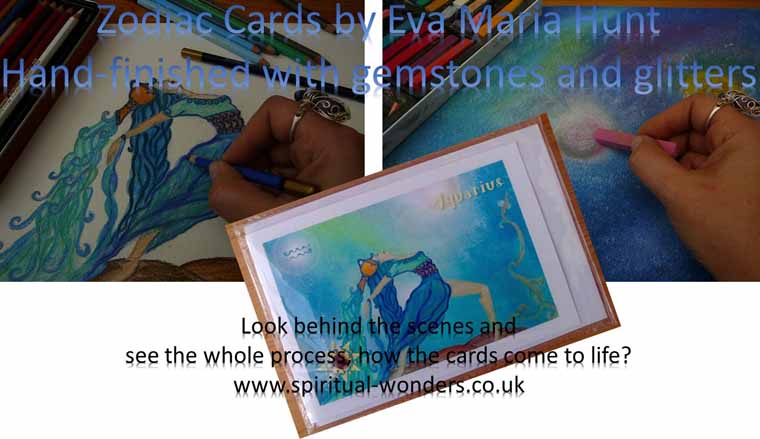
Step 1. Background work
When the idea came to my mind about drawing the zodiac signs in my own interpretation there was no doubt it needs to be something energetic. So I started looking through some of my favourite artists’ paintings, and soon I felt it needs to be about something that is close to my heart. As I love dancing, and I adore this creative art the decision was made I decided drawing my zodiac cards with energetic dance moves.
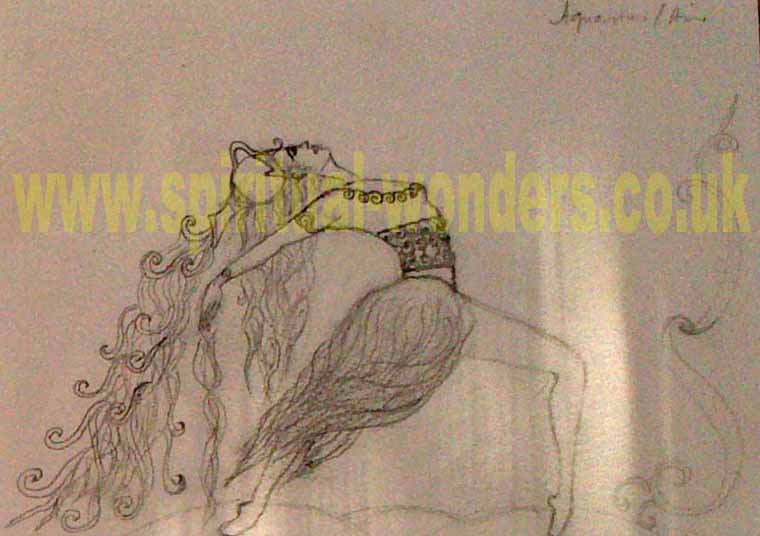
Step 2. Drawing the movements
In order to draw the movements I needed models. I have done some search in magazines and online spending a lot of time to represent the energies of each horoscope of the year.
When the dancers appeared as pencil drawings I drifted off to the zone and designing the properties of the zodiac signs became a very fast process, as it was almost pouring out of me.
Step 3. Creating some order
After designing the symbols of the four elements: Air, Water, Fire and Earth, represented in the twelve signs, I thought it will create a more orderly look and add another dimension to my artworks if I drew the pictogram of the different horoscopes and incorporate them in the picture.
Step 4. Adding Life to the Pictures
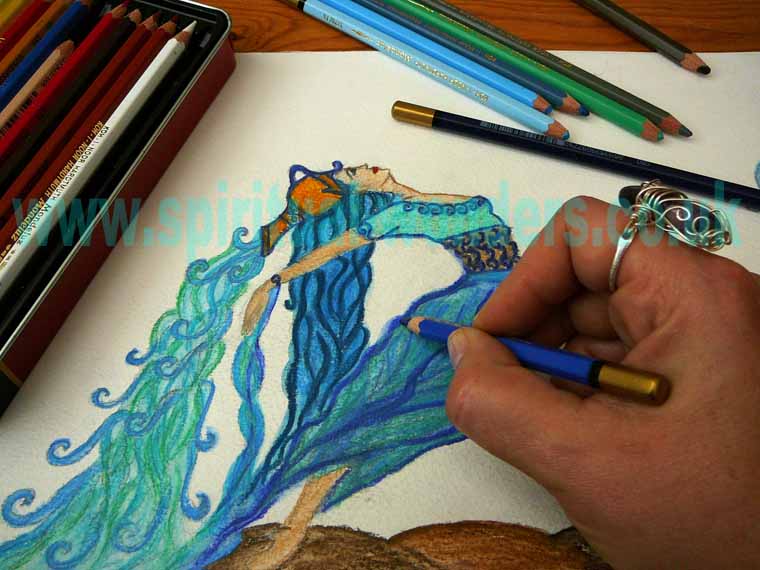
This step is about colouring the lines with watercolour pencils. Well this always feels, like a giant step for me, when I move form the pencil sketch to the colouring stage. The colours change the energy on the paper, and it’s very important to get the balance right for each sign, so they reflect the energetic properties of the horoscope.
Step 5. Creating the background of the Zodiac signs
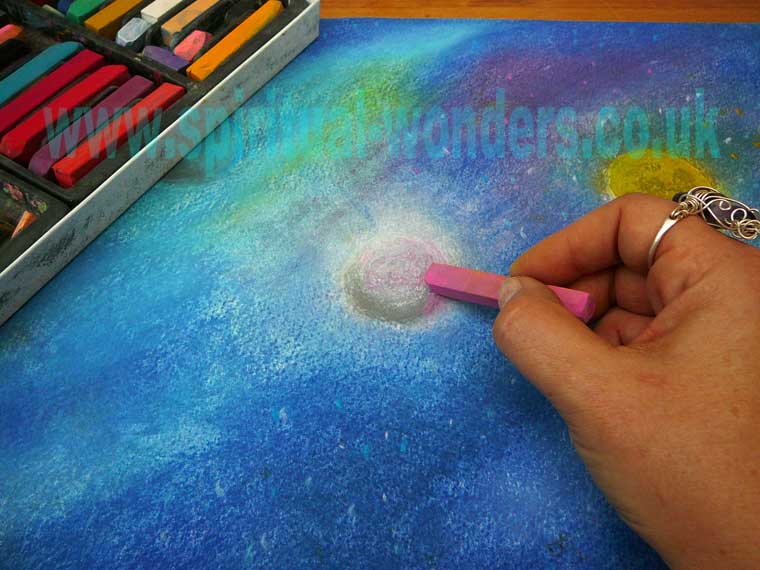
I was playing with the idea of using a photo of the Universe as a background for my Zodiacs. However after trying out different options they didn’t feel right. So I decided to paint it myself with a different media. So I started working on my painting for the background called Universe.
Step 6. Starting the digital process
To bring the background and foreground together I scanned the images into Photoshop. Cutting and turning the background in a way it added to each drawing I had different background effects. To bring the focus back on the dancers I also added light effects. When the pictures came together I continued with digital editing by adding the name of the signs in a Gold effect ink and Gold stars to create the background for the gemstones…
Step 7. Printing the artwork with a professional printer on high quality card
Step 8. Making them unique with gemstones
As I am designing and creating healing crystal jewellery it was a no brainer to bring my beloved gemstone into the picture. Every zodiac sign match up with birthstones. So I have decided to use tiny 3-5mm gemstone chips to fit in the corner of the cards. It is a time consuming process to select the right chips out of thousands of tiny little stones, however they looked really nice with the Gold background, so I knew that was the right decision.
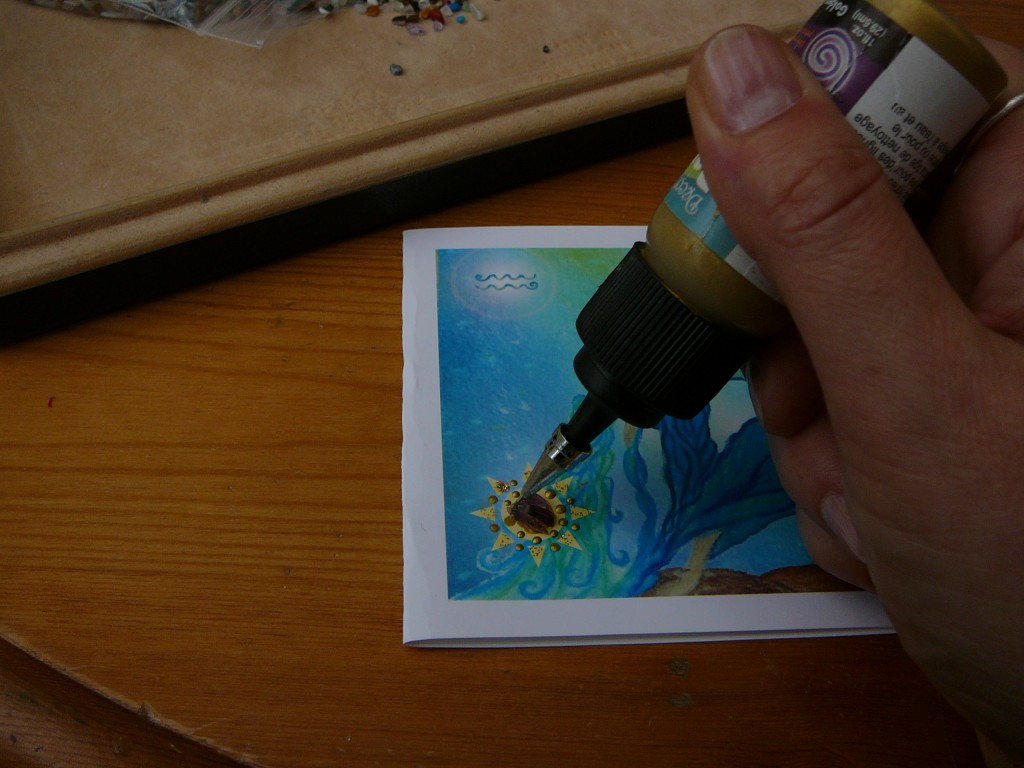
Step 9. Adding the Gold 3D pattern around the star
This idea made my stars look really special, so at this point I was already very happy with the result.
Step 10. Finishing touches
I decided to add some sparkle to my artwork by using different glitter colours on the element symbols: Green with Earth, Gold with Air, Orange with Fire and Blue with Water.

With this final step my zodiac cards really came to life. I hope you like them too. You can see the full range in my Web Shop: Spiritual Wonders Online Crystal and Gift Shop.
